So, all you’ve got is a PDF file full of information – but you need (some of) its content in a different format.
Here’s what you can do.
Visual cues: What to do Results Caveats Package to install
A few caveats, aka: »management of expectations«
PDF files essentially contain »boxes with text«, spread across a page, without much information about the text flow or things like »heading levels«. It’s all conveyed by the visual layout only.
Humans can make sense of that, but a simple copy & paste of the text will often lead to disappointing results.
While there is no perfect solution for this, some tools can make a pretty good guess on how the text flows in a PDF. Be ready for some post-processing, though.
Physical (»real«) page numbers within a PDF file start at 1 for the first page and trivially increase by 1, just until the end. Quite often, the page numbers you can see on a page, or in a table of contents (TOC) do not match the physical page numbers. When in doubt, open the PDF with your preferred PDF viewer and pick the page numbers it shows.
Boot into Linux
Boot into a fairly recent Linux distribution. For this episode, we’ve used a plain vanilla, mainstream Kubuntu 20.04 LTS, and cross-checked our results on Manjaro 21.0.7 XFCE.
Open a terminal and you’re ready to go.
Tools used, and their packages
convert, import, montageimagemagick
gsghostscript
inkscapeinkscape
pandocpandoc
pdf2svgpdf2svg
pdfcroptexlive-extra-utils or texlive-core
pdftkpdftk
pdftoppm, pdftotext, pdfimagespoppler-utils
tesseracttesseract-ocr or tesseract (+tesseract-ocr-fra, tesseract-ocr-spa, … or tesseract-data-fra, tesseract-data-spa, … )
Crop away undesirable footers, headers, left, or right margins, before the conversion
With respect to your own PDF files, please experiment with margin sizes, until the cropped PDF pages contain no more undesirable text. Keep a blank margin of 10pt on all sides that don’t carry undesired content.
Our sample file GG.pdf contains header and footer text that we want to get rid of, before the conversion:
GG.pdf »Grundgesetz für die Bundesrepublik Deutschland«
In our case, we’ll cut both header and footer by -20pt, but leave left and right margins of 10pt, each.
Please note that you’ll most likely have to manually insert hard line breaks. Formatting headings is also manual work. Images can be pulled out of the PDF as well (see below), and re-inserted.
Current versions of pandoc may produce buggy .odt files that cannot be opened, so we’re converting to .docx here, instead. For a test, change docx to odt, in the command above.
We’ll take p.2-3 here, and will create PNGs, max. 2048x2048 pixels each, 600 DPI, antialiased; stored in subdirectory ./images, file name prefixed with screenshot-[pagenumber]
You can shorten the PDF to a few selected pages first, if a single page range is not what you want. See above, under … but I need only parts of the PDF
I need all the pictures / diagrams / figures
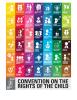
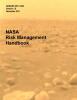
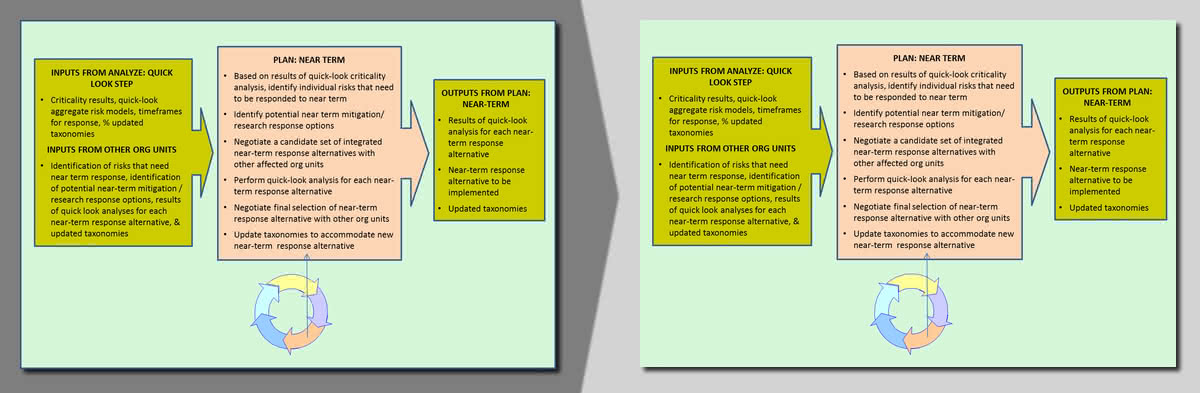
We’ll use 20120000033.pdf as a sample file, because it contains many »retro« graphics and figures:
… but I want to remove the »outside« of this diagram
Isolate a diagram (make outside part transparent)
To achieve this, we’ll simply »flood« the outside with transparency.
Diagram before and after surrounding white background replaced by transparency
The diagram needs a closed outline for this to work, so the transparency does not spill into the inside. Also, the outside part must be contiguous, so the transparency can »flow« everywhere.
The background color to be flooded is simply chosen from the pixel at coordinates 0,0. Allow for a fuzziness of 5% when matching that color.
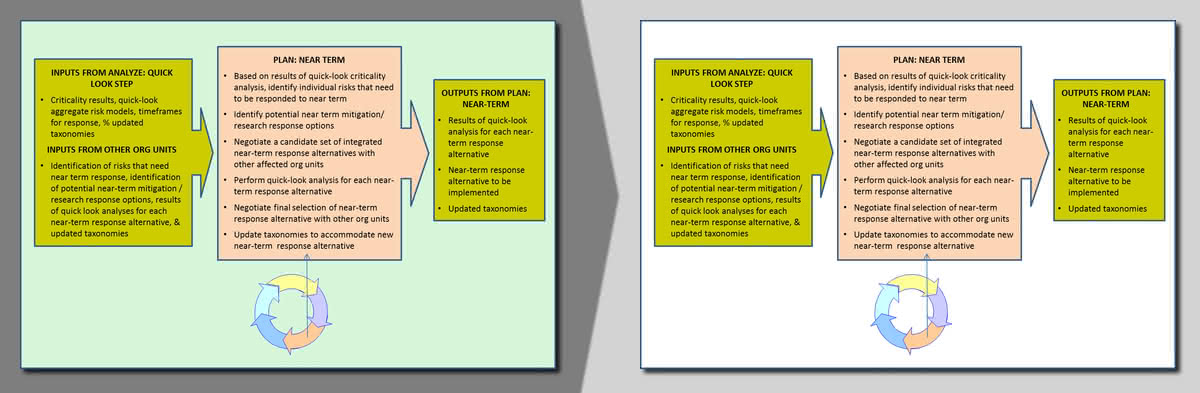
… but I need whole diagrams – some are split into several images, and are even incomplete!
When using pdfimages as explained above, all bitmaps are extracted from your PDF. What you perceive as a picture / diagram / figure when viewing that PDF, however, may actually be a composite of such bitmaps and a variety of other graphical objects, all layered like on a presentation slide. In short: there is no single picture / diagram / figure.
You can see this effect, e.g., when looking at the figure from page 88 of 20120000033.pdf, after exporting it according to the example above: the extraction results in two bitmaps for the diagram, each with a black background.
To solve this, you could of course take screenshots of all pages, and then carefully cut out the shapes of what you perceive as the pictures / diagrams / figures. If you want to take that road, see above under I need high-quality page screenshots.
A better alternative might be to convert the PDF into a series of SVG vector graphics first: quite often, this preserves the grouping of the visual elements of a picture / diagram / figure, as specified in the PDF file. Which, in turn, allows for opening the converted pages, using a vector graphics program, and quickly exporting the groups of objects that constitute the pictures / diagrams / figures you’re interested in.
Export diagrams as bitmaps, via SVG
1 Export all PDF pages to vector images
mkdir ./svg
pdf2svg 20120000033.pdf ./svg/page-%04d.svg all
./svg/page-0001.svg, … , ./svg/page-0256.svg
2 Open the desired page in Inkscape. Try to select the group of objects that constitutes the picture / diagram / figure (in case there are nested groups, you may have to ungroup some of the outer groups first). Export the selection to a PNG bitmap.
Tip:
You can shorten the PDF to a few selected pages first, if a single page range is not what you want. See above, under … but I need only parts of the PDF
I need a smaller version, it’s way too huge
Many PDF files don’t contain much content that could be »compressed«, since much of it is already in vectorized format (e.g., embedded fonts, and many of the diagrams).
Usually, the highest reduction in size can be achieved for bitmap content like scans. Any substantial compression will show in jaggy bitmaps, whereas the text looks as hi-res as before, because the vectorized fonts haven’t been changed in the process.
… but I need good quality, and a minimum resolution (DPI)
We’ll use 20120000033.pdf as a sample file, because it contains many »retro« graphics and figures, and exceeds 200 pages in size.
Replace every occurrence of 300 by your desired resolution. Other common values are 150 and 72. When using our sample file and experimenting with different parameters, you may wish to check tables on p. 165 or p. 243 in the resulting files, to assess compression artefacts.
300 DPI is giving good results on printers, provided the input file was great. »Upscaling« poor quality files won’t work.
Some of the parameters used above are already implied by -dPDFSETTINGS=/screen. We have added them to allow for isolated parameter modifications, for testing.
… but I need it as small as possible, at all costs.
Compress to 72 DPI, accept lower quality
To compress to a resolution of 72 DPI, compromising on bitmap quality by crude downsampling:
There may be various reasons for not being able to just copy and paste a paragraph from a PDF. Let’s see what we can do about them.
… but I have a no-text, bitmaps-only PDF
We’ll turn it into a PDF with overlaid text, by using freely available tools for OCR (optical character recognition).
With contemporary content (e.g., a scanned invoice), results usually are quite good. With older content (e.g., scanned old magazines), result vary.
Create a PDF with text from a bitmap-only PDF
We’ll follow these steps:
Create JPEG bitmaps from (all, or a range of) the pages of the PDF
Create a list of the page bitmaps
Let an OCR software analyze that list of bitmaps and create a PDF, with overlaid text that is searchable / copyable
We’ll use StrandMagazine_133.pdf as a non-trivial sample file, because it’s a scan of a 1902 magazine copy, set into two columns – and it contains several images:
StrandMagazine_133.pdf »Strand Magazine. An illustrated monthly. Vol. XXIII, London 1902«
1 Create JPEG images from PDF pages: pages 4 to 16; 95% quality JPGs, 600 DPI; stored in subdirectory ./pagebitmaps, file name prefixed with page-[pagenumber]
3 Create PDF with overlaid text from image file list: assume english language; try to figure the layout by yourself (1); assume input files have 600 DPI
tesseract -l eng --psm 1 --dpi 600 pagelist.txt Baskervilles-searchable pdf
Baskervilles-searchable pdf
For a more sophisticated solution, consider OCRmyPDF.
… but I’ve tried everything and nothing worked
Ok, there is one more thing we can try, under these conditions:
You can open the »stubborn« file in a viewer application, on your desktop.
You’re not using the Wayland display server protocol.
The viewer supports key shortcuts to make it »go fullscreen«, and to move »one page down« in the content, respectively.
We’ll try this:
Open the file in the viewer that can display it, and move to the first page that we want
Let a script screenshot all desired pages
Manually crop one of the screenshots, to indicate what region of the screenshots contains the »page«, in our opinion
Let another script crop all screenshots, and use OCR to create a PDF with text that you can finally copy & paste
With contemporary content (e.g., a scanned invoice), results usually are quite good. With older content (e.g., scanned old magazines), result aren’t that great, since we’re working with whole pages, as displayed by a viewer in fullscreen mode – the screen resolution limits what OCR can achieve here.
In our example, we’ll use StrandMagazine_133.pdf. It’s not really a »stubborn« file, though:
StrandMagazine_133.pdf »Strand Magazine. An illustrated monthly. Vol. XXIII, London 1902«
These script use the convert, import, tesseract, xdotool tools.
Turning stubborn files into PDFs with text that you can copy & paste
1Open StrandMagazine_133.pdf in a viewer of your choice (we’ll use Evince here). Test whether the keys to go fullscreen and to move one page down work as expected (with Evince, these are F11 and Page_Down, respectively). Then, turn off fullscreen again and select page 4, the start »The Hound of the Baskervilles«.
2 Open a terminal window and cd to an empty directory that you’ll use as a working directory. We’ll let the script viewer2grabs.sh remote-control the viewer application, i.e.: make it go fullscreen by sending F11, and take a series of 13 screenshots (i.e., p. 4–16); after each screenshot, the script will send a Page_Down to the viewer. Finally, the script will tell the viewer to end fullscreen mode, by sending F11 again.
Don’t interfere with the script, just watch it do its work. After you have started the script in the terminal, you have 10 seconds to bring the viewer window to the front, before the script starts taking screenshots. The starting page (4) must already be selected.
viewer2grabs.sh -n 13 -p Page_Down -f F11
./screens/grabbed-0001.png, … , ./screens/grabbed-0005.png, and ./screens/please_crop_me.png
3Manually crop a sample screenshot, as an example. Later, the second script will learn from your example where the »page« region of the screenshots is.
Open ./screens/please_crop_me.png and crop it, so only the »page« region is visible. Save it again, overwriting the original file.
4 Go back to your terminal window, back to the working directory. We’ll let the script grabs2pdf.sh crop all the screenshots of the viewer window, so only the »page« region survives. The script then uses OCR to retrieve the text from the cropped images (assuming it’s english). Finally, it generates a PDF file combining the cropped images with the text.
grabs2pdf.sh -l eng -o ./baskervilles
./screens/grabbed-0001.png, … , ./screens/grabbed-0005.png, and ./screens/please_crop_me.png
I need a visual overview of all pages
We’ll take tiny screenshots of all pages…
…and then arrange them in a grid (with variants a – c)
Tiny page screenshot tiles, arranged in a grid
1 Take tiny screenshot tiles of all PDF pages: 80% quality JPGs, max. 100×100 pixels, 72 DPI; stored in subdirectory ./images, file name prefixed with screenshot-[pagenumber]
For the convert tool used here, the first physical page number within a PDF file 0 – unlike with other tools that consider it to be page 1.
2a Montage screenshots into the desired grid, fixed number of columns (20 here); set background to gray, separate screenshots by 1 pixel to make background shine through
2b Montage screenshots into the desired grid, fixed number of rows (7 here); set background to gray, separate screenshots by 1 pixel to make background shine through
2c Montage screenshots into the desired grids, each with a fixed number of columns (10 here) and of rows (5 here); set background to gray, separate screenshots by 1 pixel to make background shine through